Warning signs worth recording
A useful symptom record includes what the driver sees, hears, smells or feels and the operating condition in which it appears.
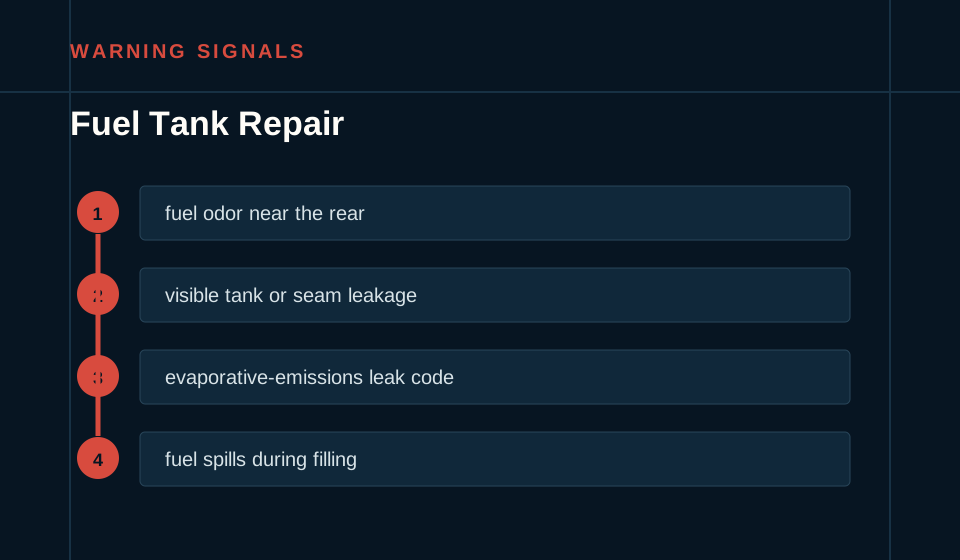
- fuel odor near the rear
- visible tank or seam leakage
- evaporative-emissions leak code
- fuel spills during filling
Take note of frequency and recent changes, but do not recreate an unsafe condition simply to document it.
Why similar symptoms need testing
A vapor leak may not leave liquid fuel. The same outward sign can therefore lead to different inspections and repair paths.
Corrosion or impact can affect the tank and supports. The same outward sign can therefore lead to different inspections and repair paths.
A loose cap differs from a tank-system leak. The same outward sign can therefore lead to different inspections and repair paths.
Plastic and metal tanks require different repair decisions. The same outward sign can therefore lead to different inspections and repair paths.
When not to keep driving
If safe operation is uncertain, stop in a safe place and arrange appropriate assistance rather than driving to reproduce the symptom.
Prepare a better first call
- Record when the symptom began and whether it is constant or intermittent.
- Note warning lights without clearing them.
- List recent repairs, impacts, fluid additions or battery events.
- Have the year, make, model and mileage available.
Describe the operating condition, not only the symptom
For a Tampa appointment, note whether the change is strongest after the vehicle sits in direct heat, during slow traffic, after heavy rain, at idle with the air conditioning on or after a longer highway drive. Temperature, moisture, electrical load and vehicle speed can change how a fault appears without identifying the failed part by themselves.
Also record whether the symptom is becoming more frequent, whether any fluid level has changed and whether the vehicle recently received a battery, tire, brake, engine or cooling-system service. This timeline helps the shop choose a focused first inspection and avoid repeating work that has already been performed.
What an inspection may compare
The technician connects the driver report with component condition, measurements and system behavior.
- inspect safely for liquid and vapor sources
- smoke-test the evaporative system when appropriate
- check filler, vent and pump-module seals
- evaluate tank, straps and shields before removal
Those checks may involve fuel tank and filler neck, pump module seal and lock ring, vent, vapor and rollover valves, straps, shields and connected lines. Preserving the circumstances is more useful than guessing a replacement part.
Common questions
Can this page diagnose the vehicle?
No. It organizes observations and questions. Vehicle-specific testing is still required.
Should I buy a part before inspection?
Usually wait until the cause and exact application are confirmed. Similar symptoms can come from different components.
Why preserve warning-light information?
Stored codes, monitor status and operating context may help the technician choose the next test.